
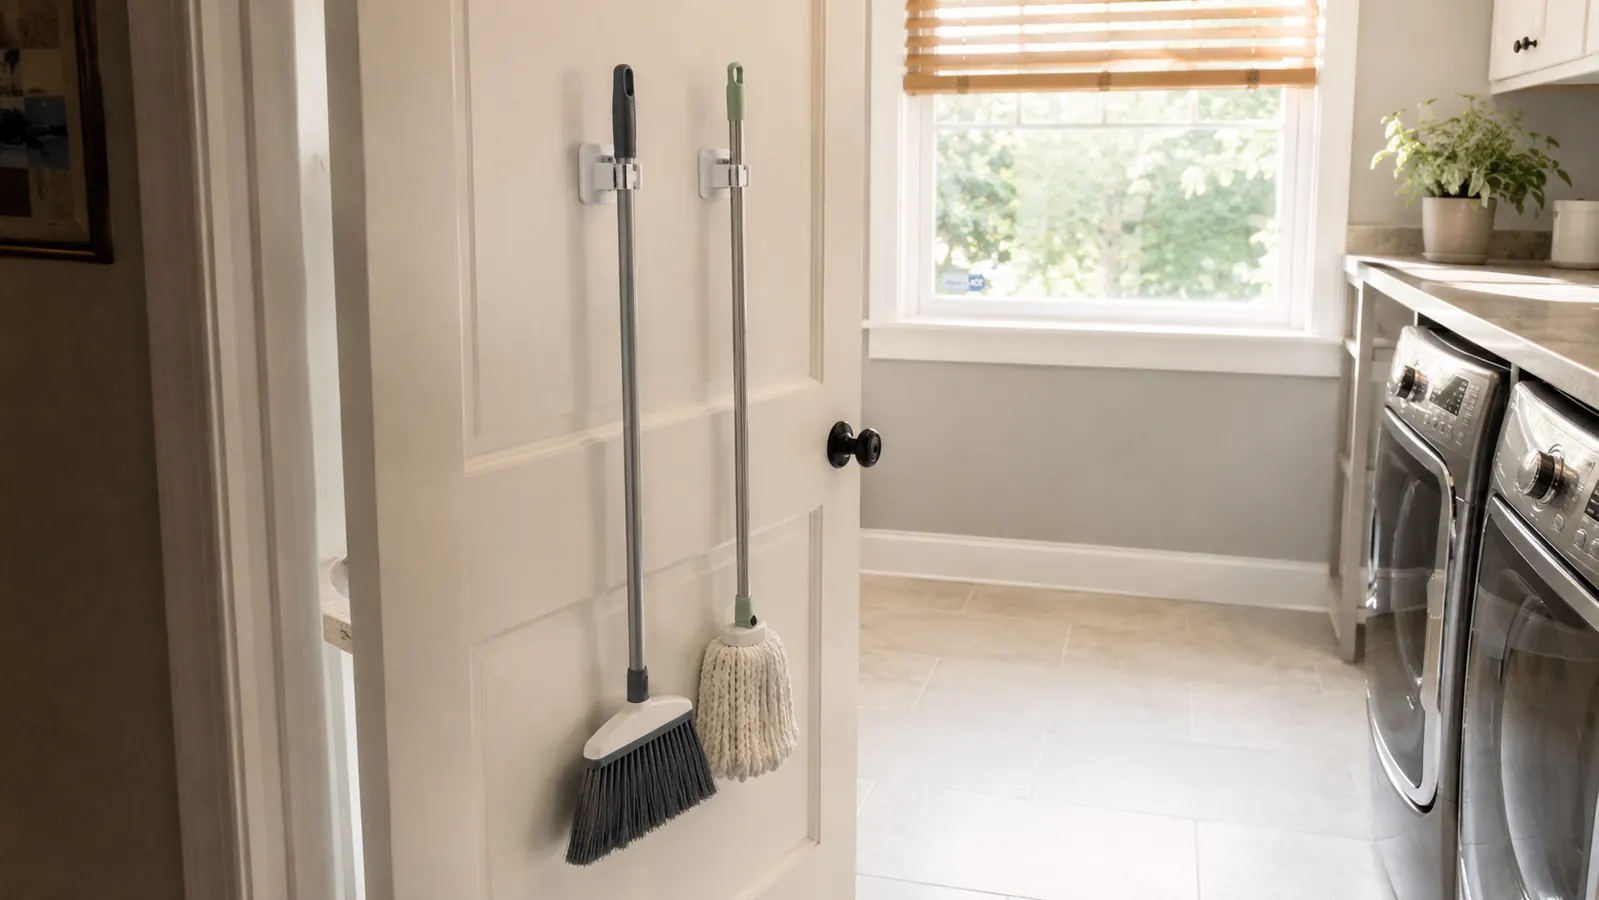
For about two years, the broom in our laundry room lived propped in the corner behind the door, which meant it fell over every single time that door swung open. My husband Dave used to catch it out of the corner of his eye and just sigh, the same sigh every time, like the broom had personally wronged him again. I kept meaning to fix it and kept not fixing it, mostly because the idea of drilling into a door we'd have to patch someday if we ever moved felt like more trouble than a fallen broom was worth.
What finally got me moving was a pack of Command Broom Grippers sitting in my cart for probably a month before I actually clicked buy. Two hangers, four adhesive strips, and a promise that I would not need a single screw. It took me about twenty minutes start to finish, and the broom and mop have not touched that floor since. Here is the exact order I did it in, including the step almost everyone skips and the reason skipping it is why some people's grippers fail within a week.
Before the steps, here is the exact holder I used to get that broom off the floor for good.
The Command Broom Grippers pack comes with two claw-style hangers and four adhesive strips, rated at 4.7 stars across nearly 39,000 Amazon reviews. No drilling, no wall damage, and it comes off clean if you ever need to move it.
Amazon Check Today's Price on Amazon →Step 1: Wipe the Door Down and Let It Dry Completely
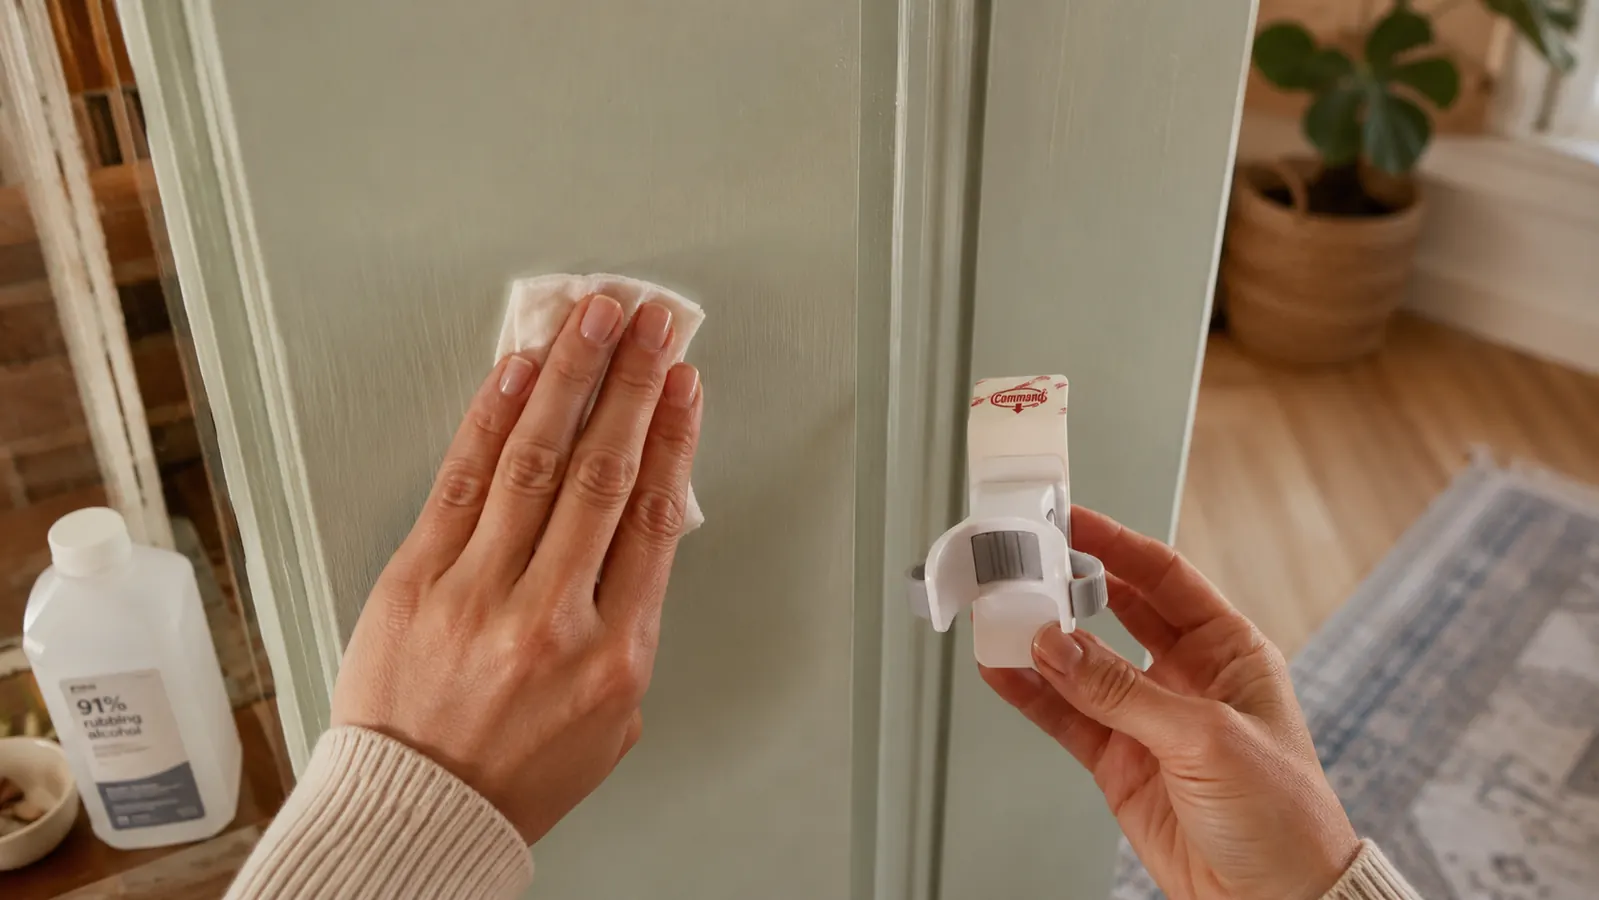
This is the step I almost skipped because our laundry room door looked clean to me. It was not clean, not in the way Command strips need it to be. I grabbed a cloth and a small bottle of rubbing alcohol from under the bathroom sink and wiped down the exact spot where I planned to mount each gripper, going over it twice. Dust, a faint film of laundry detergent mist that had settled on the door over the years, even a little bit of invisible hand oil from opening that door a hundred times a week, all of it keeps the adhesive from bonding the way it is supposed to.
Skip soap and water if you can help it, or if you do use them, dry the spot completely and follow up with the rubbing alcohol anyway. Soap can leave a thin residue behind that you cannot see or feel, and that residue is exactly the kind of thing that causes a strip to lift six months later for what looks like no reason. I let the door air dry for a solid five minutes before touching it again, even though it looked dry within about thirty seconds. Better to lose five minutes here than to redo the whole project in August.
One thing worth checking before you go any further: the surface itself. Command strips are built for smooth painted wood, laminate, tile, and similar surfaces. Our door is painted hollow-core wood, which is about as friendly a surface as these strips get. If your door or wall is unfinished wood, textured plaster, brick, or wallpaper, stop here and press a single test strip on a low-visibility spot first, because those surfaces are hit or miss and you do not want to find that out after you have already mounted a fully loaded broom holder.
Step 2: Mark and Space Your Two Grippers Before You Peel Anything
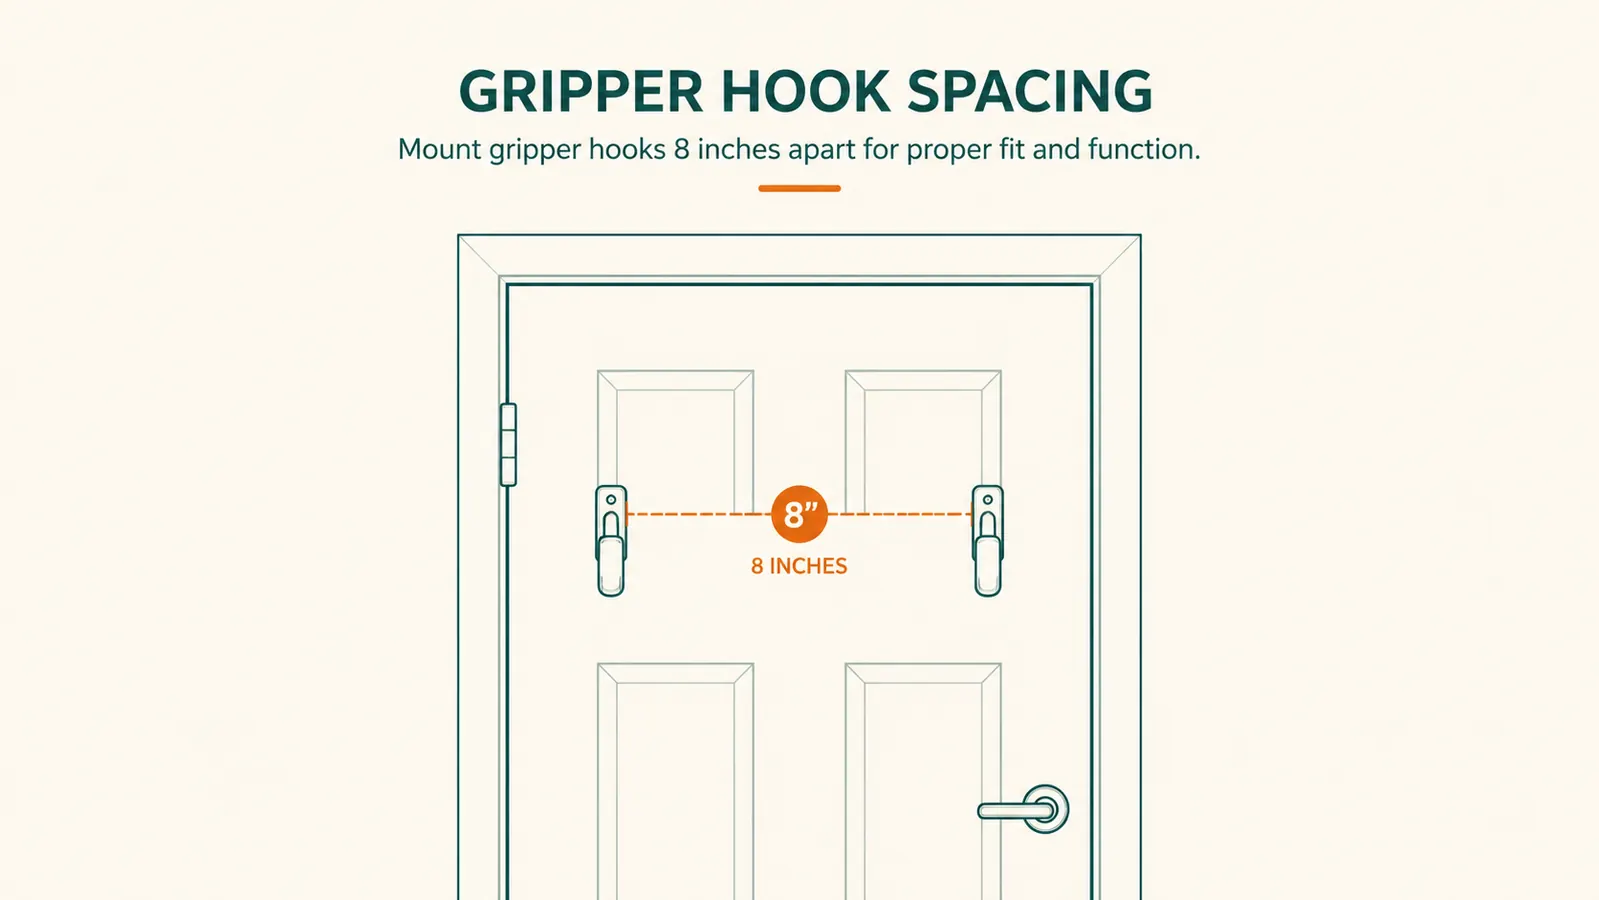
I made the mistake with a different Command hook years ago of just eyeballing the spacing and ending up with two hooks too close together, so this time I measured first. I held the broom and mop up against the door where I wanted them to hang and made a light pencil mark at the spot where each handle's hanging loop, or in our case the flat top of each handle, would naturally sit. Then I measured the gap between those two marks. Ours landed at right around eight inches apart, which gave the broom head and mop head enough room that they do not tangle when the door swings shut.
Height matters just as much as horizontal spacing. I mounted ours about five feet off the ground, high enough that the broom bristles clear the floor by a few inches so they are not sitting in a puddle of whatever the mop drips onto the tile, but low enough that I am not stretching on my toes every time I grab it. If you have kids old enough to help with chores and you want them using this too, mount it a bit lower than you would for yourself, somewhere they can reach without a step stool.
Once you have both spots marked, do a quick gut check before peeling any backing. Close the door most of the way and picture the broom and mop actually hanging there, whether they clear the door frame, whether they bump into the light switch, whether the mop head is going to drip directly onto something you care about. I caught mine sitting about an inch too close to the frame on my first mark and moved it over before committing to anything, which took ten seconds and saved me from starting over with a fresh strip.
Step 3: Press Each Strip and Hold for the Full Thirty Seconds
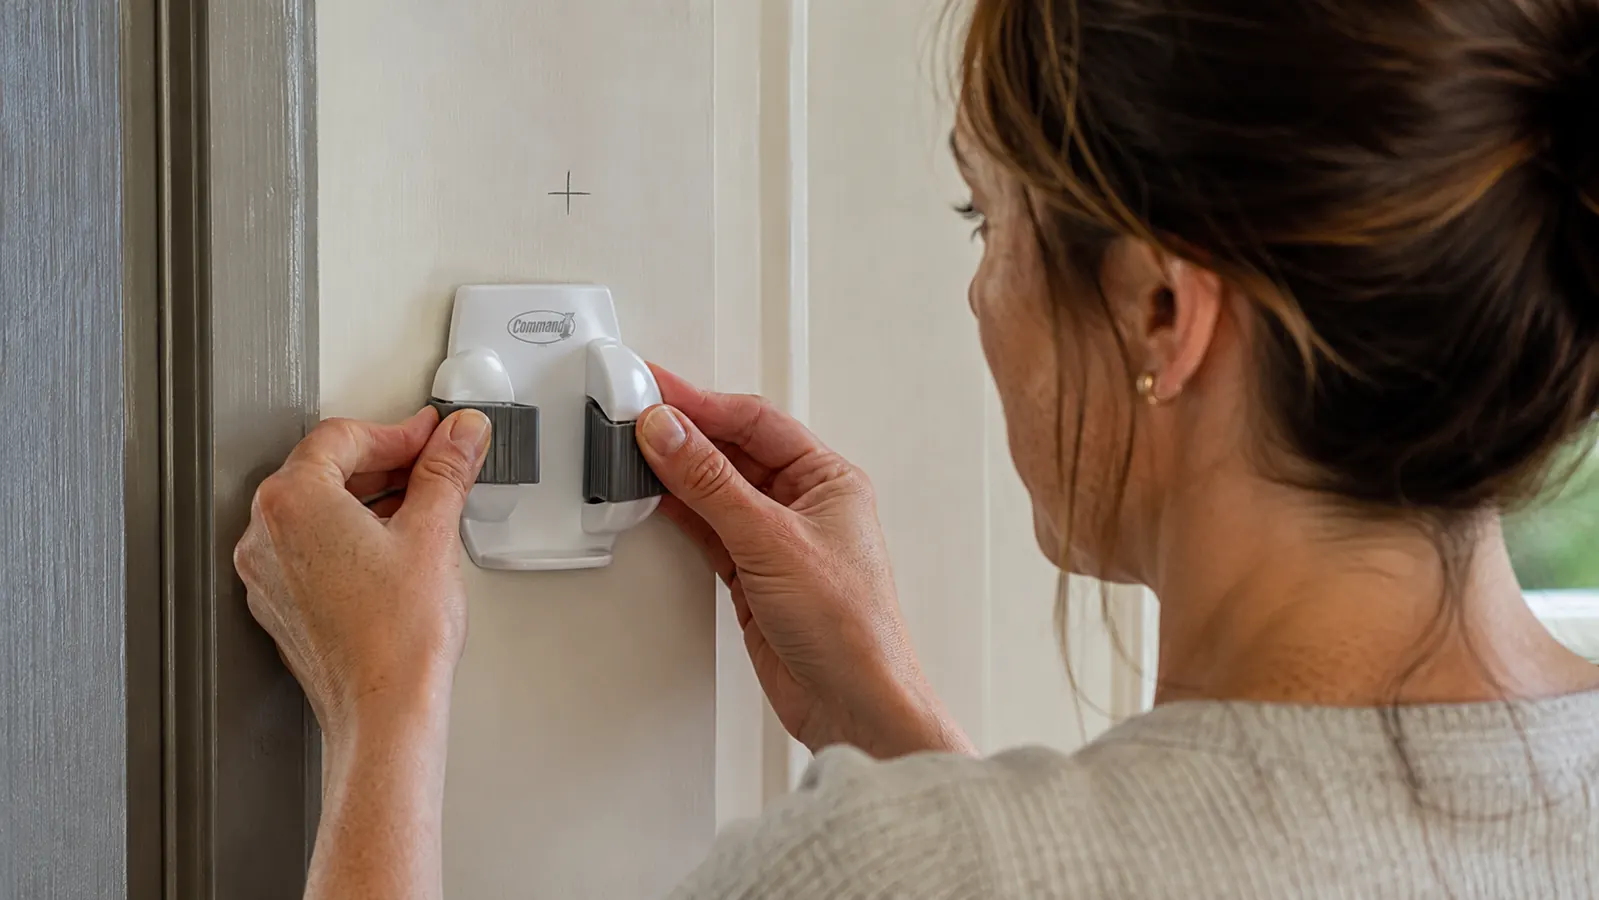
Peel the backing off one adhesive strip at a time, working with one gripper at a time rather than laying out all your strips ahead of the time you are actually ready to use them. Press the strip onto the back of the plastic gripper hook first, following whatever the package shows for your specific hanger, then line the hook up with your pencil mark and press the whole thing flat against the door.
Here is where I actually set a timer on my phone instead of guessing, because thirty seconds is longer than it feels when you are standing there with your arm up holding pressure on a hook. I pressed with the flat of my palm across the whole strip, not just my fingertips on one corner, since even pressure across the entire pad is what activates the adhesive properly. My arm was mildly tired by the end of the second one, which tells you I was actually doing it right and not just tapping it twice and walking away.
Do the same thing for the second gripper, using your second mark. Once both are pressed on, resist the urge to test them right away by tugging on the hooks or hanging anything. I know the temptation is real, I stood there for a second wanting to hang the broom immediately just to see it work, but that instinct is exactly what ruins these for people. The adhesive needs time to actually bond to the surface, and pressure alone does not finish that job.
Step 4: Respect the Cure Time, This Is the Step Everyone Skips
The package says to wait about an hour before hanging anything. I have talked to enough people who had a Command hook fail on them to know that an hour is the bare minimum, not the ideal number, so I waited overnight instead. I pressed both grippers on right before bed and did not hang the broom until the next morning, which meant roughly ten hours of cure time instead of one.
This is genuinely the step that separates the people who get a full year out of these from the people who post a one-star review two weeks later saying the hook fell off the wall. The adhesive is doing real chemical bonding during that waiting period, not just sitting there. Rush it by hanging a heavy load right away and you are pulling on a bond that has not finished forming, which is how you end up peeling both the strip and a little bit of paint off your door along with it.
If you genuinely cannot wait overnight, give it the full hour minimum and lean toward the longer end of whatever range the package lists, and avoid hanging your heaviest item first. A broom is lighter than a wet mop, so if you are impatient, hang the broom first and let the mop wait a bit longer, since a wrung-out mop head still carries more weight and moisture than a dry broom does.
Step 5: Hang the Broom and Mop, Then Do the Tug Test
Once the cure time is up, slide the broom handle into the claw of the first gripper. Most of these hangers have a spring-loaded claw that catches the handle from the side, not just straight down from above, which matters if your space is tight and you cannot lift straight up into it. Ours clicks softly when the handle seats fully, which took me a day or two to stop noticing and now I do not hear it at all.
Do the same with the mop in the second gripper, then step back and look at the whole setup with the door closed. Check that nothing is dragging on the floor, nothing is catching on the door frame, and both handles sit at a comfortable angle rather than straining sideways against the claw.
Now do the tug test, gently at first. Pull down on the broom handle the way you actually would grabbing it in a hurry, not a slow careful lift. Then do the same with the mop. If both grippers hold firm with no shifting or peeling at the edges, you are done. If you notice any give at the corner of a strip, do not panic, just leave it alone for another day or two of curing before you judge it, since a strip that is ninety percent cured can still look slightly less snug than one that has had the full waiting period. Ours passed the tug test clean the first time, and it has held every single day since without me thinking about it again.
The real test wasn't the day I hung it. It was three weeks later when Dave grabbed the broom without even glancing at the corner where it used to fall over.
What Else Helps
If you are doing more than a broom and mop, a dustpan and a small hand brush for instance, know that one pack only gives you two hangers, so budget for a second pack if you want everything off the floor at once rather than trying to double up two tools onto one claw. I tried squeezing our dustpan onto the mop's gripper for about a week and it just meant both items fought each other every time the door opened, so I bought a second pack and gave the dustpan its own spot.
If your surface is anything other than smooth painted wood, laminate, tile, or finished metal, test one strip in an inconspicuous spot before committing to the full mount, since textured or unfinished surfaces are genuinely hit or miss with this kind of adhesive. And if you ever do need to move a gripper once it is fully cured, pull the strip straight down and away from the surface rather than outward, which is how Command strips are designed to release cleanly without pulling paint off with them. Trying to pry it off sideways is how you end up with a mark you did not need to leave.
One last thing I wish someone had told me before I started: measure your actual broom and mop handles, not a guess. Some handle ends are wider than others, and a couple of the cheaper broom brands have a slightly oversized cap at the top that does not seat as cleanly into the claw. Ours fit fine, but I have a friend who had to trim a plastic cap down slightly on an off-brand broom before it would sit right, which is a five-minute fix but worth knowing about before you are standing in your laundry room wondering why the handle keeps popping loose.
Ready to get your broom and mop off the floor without drilling a single hole?
This is the exact Command Broom Grippers pack I used, two hangers and four adhesive strips, currently rated 4.7 stars from nearly 39,000 Amazon reviews. Twenty minutes of work and it has held strong at our house ever since.
Amazon Check Today's Price on Amazon →