
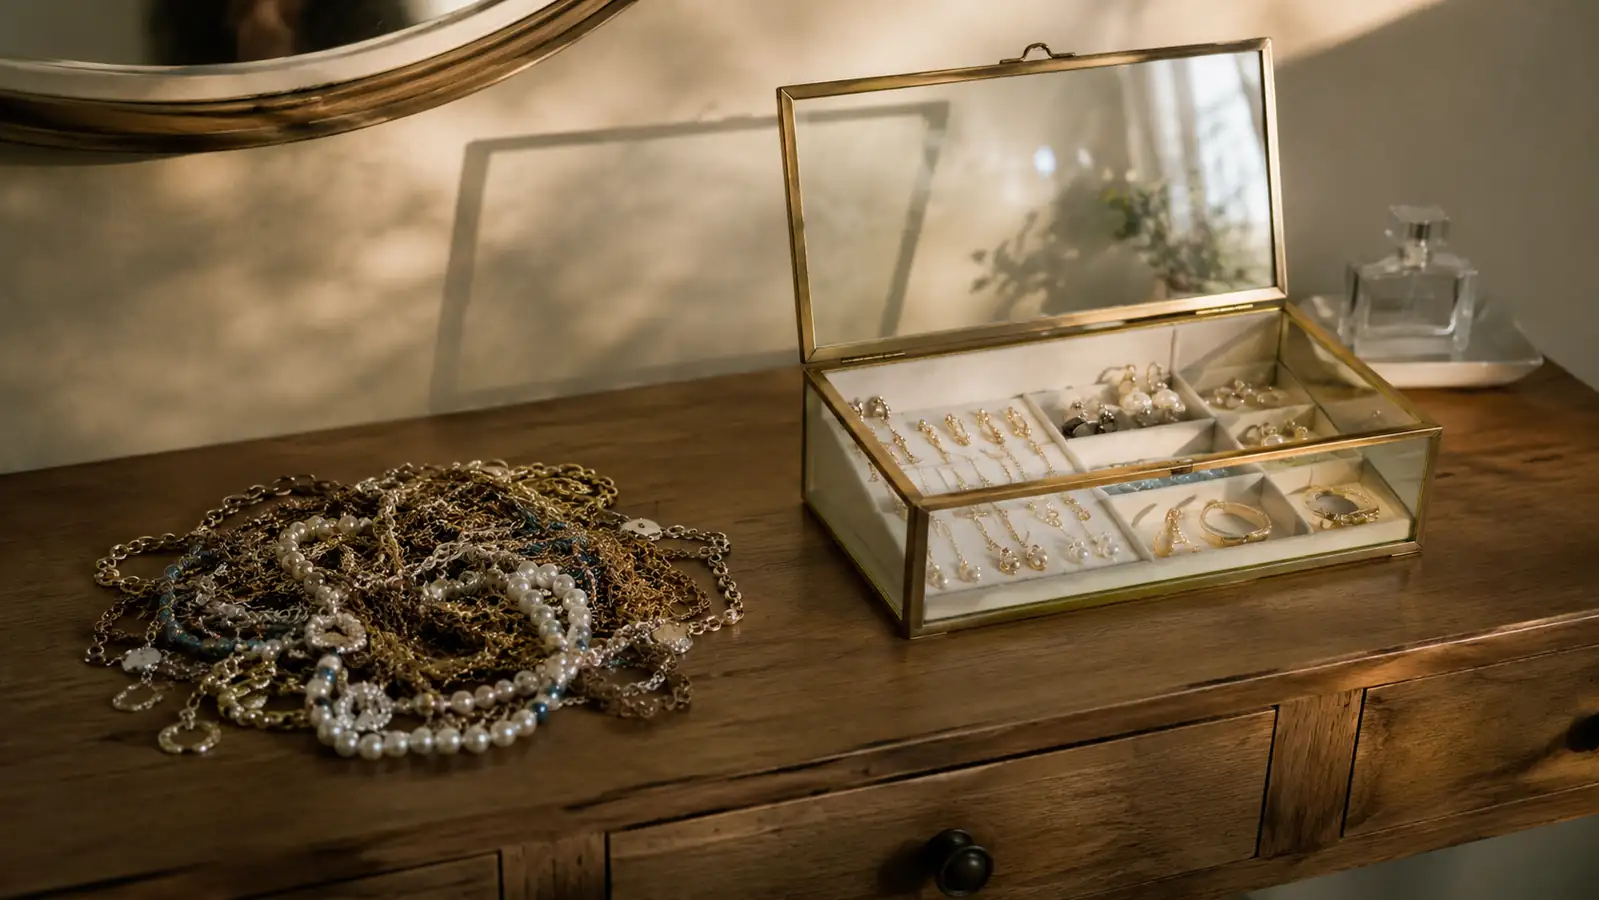
For about fifteen years, my top dresser drawer held what I can only describe as a single, fused ball of jewelry. Every necklace I owned had somehow found its way into every other necklace, and untangling any one of them meant untangling all of them. I used to keep a safety pin in there just for prying knots apart on my way out the door, which tells you how often I was late because of a drawer. My daughter used to joke that my jewelry drawer needed its own escape room, and honestly, she wasn't far off.
It got bad enough that I started avoiding certain necklaces altogether, not because I didn't want to wear them, but because I knew reaching for them meant a five-minute wrestling match before I could walk out the door. A thin gold chain my mother gave me for my thirtieth birthday sat unworn for almost two years for exactly that reason. That's the part that finally pushed me to fix this for real, not just shove things around and shut the drawer again like I'd done a dozen times before.
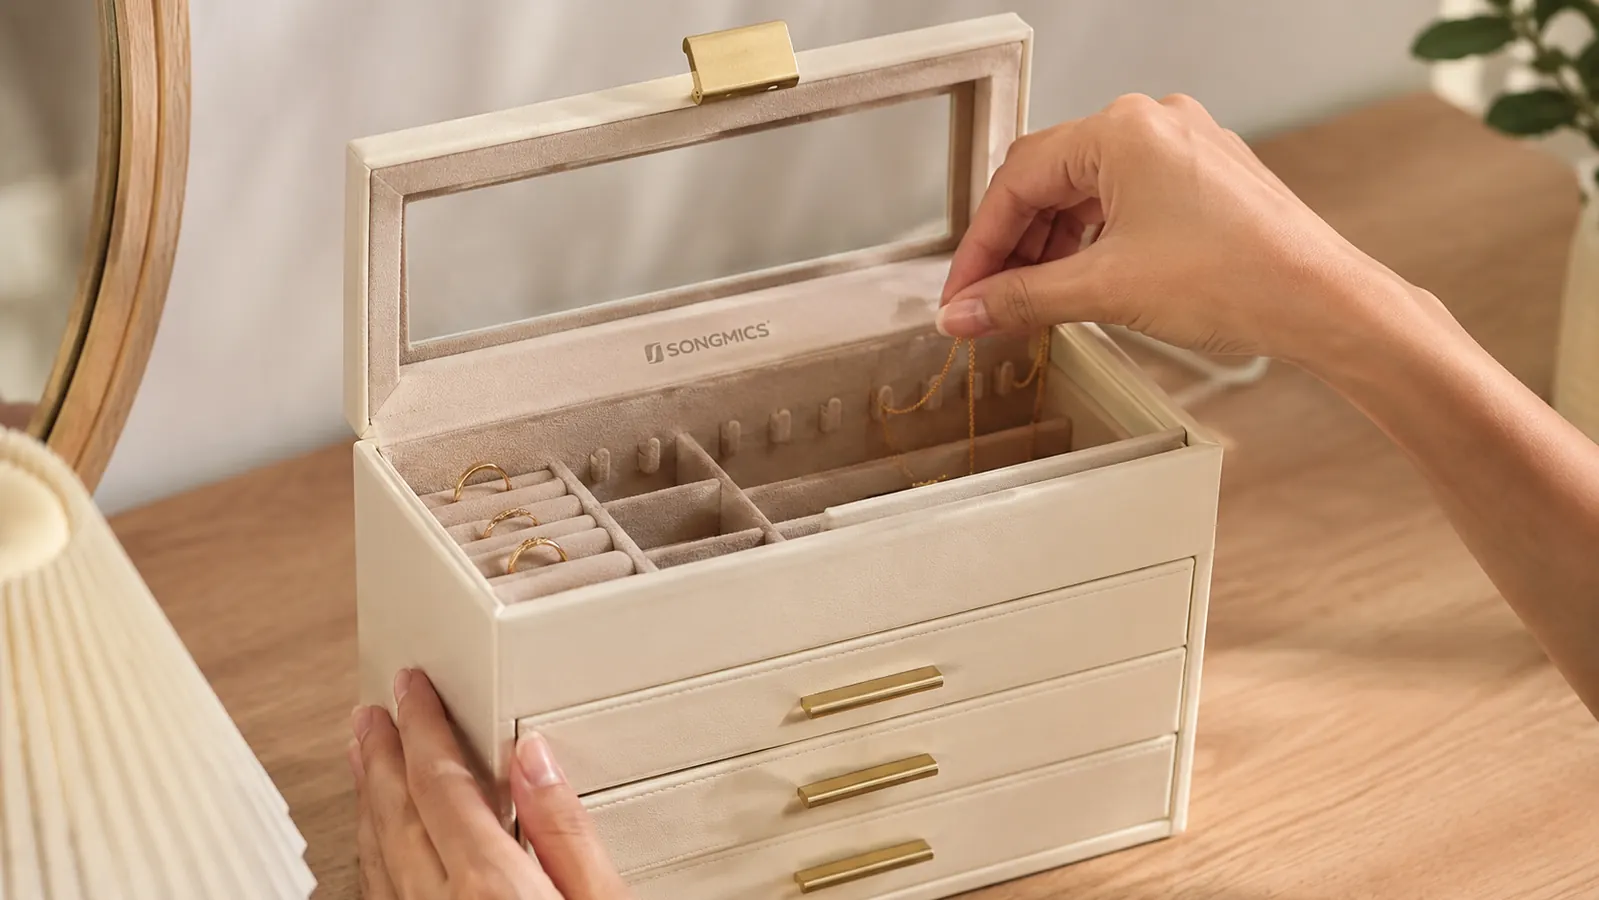
What finally fixed it wasn't a system I invented myself. It was a SONGMICS glass-lid jewelry box, the four-layer kind with hooks built into the top tier for necklaces, a middle layer with individual ring slots and earring holes, and a bottom drawer for bracelets and watches. Below is the exact process I used to go from that knotted mess to a box where I can see every single piece I own without digging, in five steps you can realistically finish in one afternoon.
Stop Untangling Necklaces Every Morning
The SONGMICS glass-lid box gives every necklace its own hook, so nothing touches, twists, or knots with anything else again.
Amazon Check Today's Price on Amazon →Step 1: Dump Everything Out and Sort by Type
Before you can organize jewelry, you have to see all of it in one place, which most of us never actually do. Pour out every drawer, dish, and forgotten travel pouch onto a clean towel on your bed or table. I found jewelry from three different houses ago doing this, including a friendship bracelet I'd genuinely forgotten I owned, and a single earring I'd been keeping for reasons I couldn't explain even to myself.
Sort into four rough piles as you go: necklaces, rings, earrings, and bracelets or watches. Don't stop to untangle anything yet, that comes next. You're just separating by category so you know roughly how much of each type you're working with before you start assigning it a home in the box. This took me about fifteen minutes, and it was the first time in years I'd actually laid out everything I owned in one place.
This is also the moment to make a fifth pile labeled maybe later, for pieces you're not sure you still wear. I set mine aside in a small bag rather than deciding on the spot. Sorting under pressure to declutter usually means you keep things you don't actually want, and I'd rather look at that bag again in three months than talk myself into keeping a bracelet I haven't worn since a wedding in 2019.
Step 2: Untangle the Knots Before You Store Anything
Trying to untangle jewelry once it's already back in a box is how you end up back where you started. Do it all at once, up front, while everything is spread out and you can see what you're working with. For stubborn knots, a straight pin or the tip of a needle works better than fingernails, you just gently pull the knot wider instead of tighter, working from the loosest part of the tangle inward.
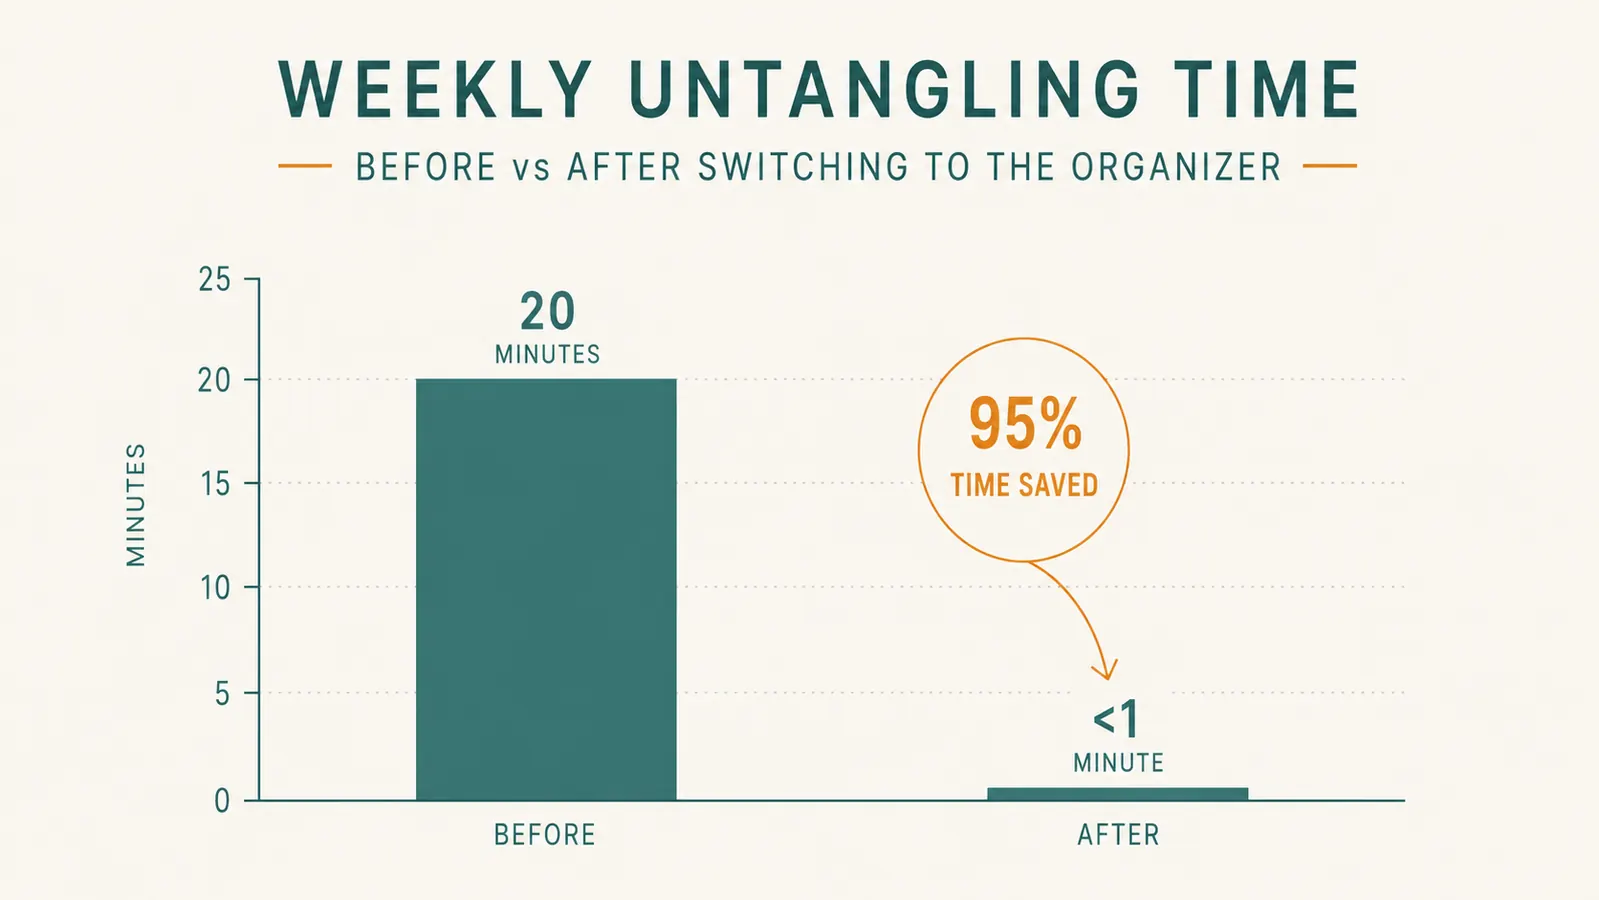
For chains that are genuinely fused into a tight ball, baby powder or a tiny dab of olive oil rubbed into the knot with a toothpick helps the metal slide instead of grip. I sat on my back porch with a glass of iced tea and untangled about a dozen necklaces this way over maybe forty minutes, which felt long in the moment but was still faster than the years I'd spent fighting them one at a time, one rushed morning after another.
As each necklace comes free, lay it out flat and separate, not back in a pile. This one step, laying pieces flat instead of coiling them, is honestly the difference between doing this project once and doing it every few months for the rest of your life. If a chain still won't budge after ten minutes of patient work, set it aside and move on. Some knots need a second pass with fresh eyes.
Step 3: Give Every Piece Its Own Layer in the Box
The reason a glass-lid organizer works where a drawer never did is that it forces separation by design. The top layer of the SONGMICS box has individual felt hooks along the inside of the lid area, so each necklace hangs on its own peg with nothing touching it. I hung my longer pendant necklaces on the back row and shorter chains up front, so I can see the clasp of each one at a glance the moment I lift the lid.
The middle tray has slotted rows for rings and small round wells for earrings, sized so a single stud or hoop sits in its own pocket. I grouped by how often I actually wear things rather than by metal color, my everyday gold hoops and wedding band are in the front row I see first when I lift the lid, and occasion pieces, like the earrings I only wear to church or a holiday dinner, sit toward the back.
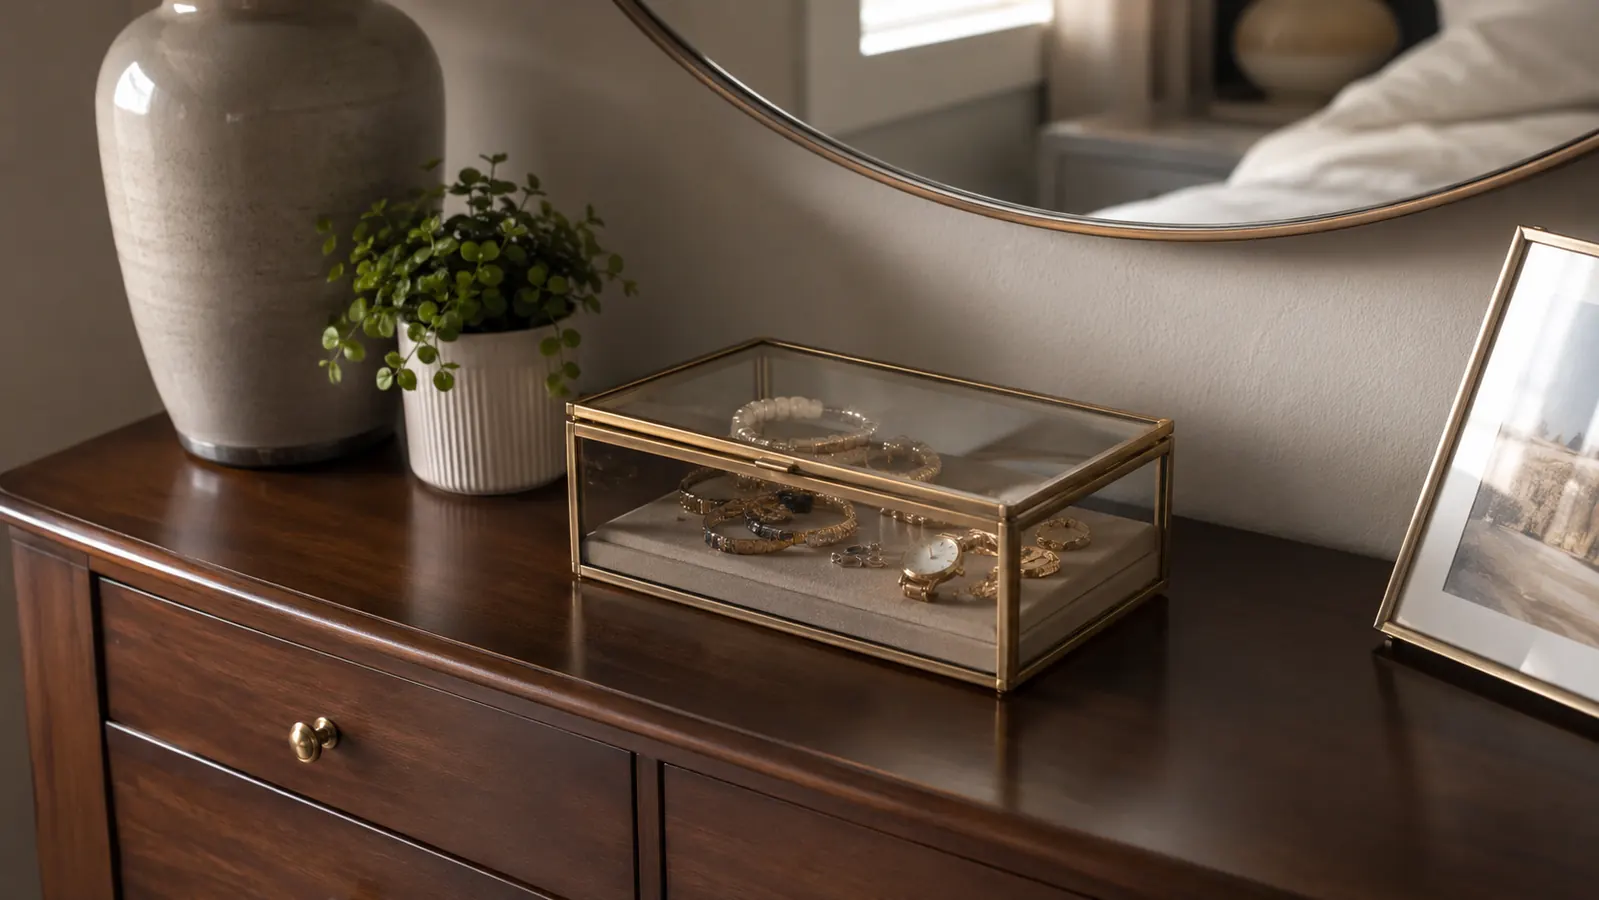
The bottom drawer holds bracelets, watches, and anything bulkier, like a statement cuff or a chunky charm bracelet that wouldn't sit flat in the ring slots. Nothing in that drawer touches anything else either, since the compartments keep pieces from sliding into one another when the drawer opens and closes, which was exactly the problem I had with my old jewelry tray.
Step 4: Use the Anti-Tangle Features on Purpose
It's tempting to treat the hooks as decoration and just drape necklaces wherever there's room, but the whole point of individual hooks is that one necklace, one hook, every time. If you have more necklaces than hooks, that's actually useful information, it tells you it might be time to sort that maybe later pile for real instead of storing overflow loose in the bottom of the drawer where it will just tangle again.
For earrings, resist the urge to just toss a pair into whichever hole is closest. I keep pairs across from each other in adjacent rows, so I'm not hunting for the match to a hoop I already found at seven in the morning. Delicate or dangly earrings go in the back rows farther from where the lid opens and closes, so they aren't getting bumped every time I reach in for the studs I wear daily.
The glass lid itself does more work than you'd think. Because you can see every hook and slot without opening the box, you build a mental map of where things live within a few days of using it, which is exactly what stops the habit of just dropping a necklace anywhere convenient at the end of the night. I noticed the habit shift within about a week, without really trying to change it.
Step 5: Build a 60-Second Nightly Habit
The box only stays organized if putting things back is faster than not bothering. Mine sits open on top of my dresser, not tucked in a closet, so taking off jewelry at night means lifting the lid and hanging each piece on its hook in about the same time it would take to just drop everything on the nightstand and deal with it later, which of course I never did.
I keep a small dish next to the box for the two or three pieces I'm still deciding whether to wear again the next day, so I'm not forcing myself to fully put everything away before bed when I'm tired. Those pieces get sorted into their real spot the next morning, which is a small enough task that it actually happens instead of becoming another pile I ignore for a week.
Once a season, I do a two-minute check through each layer, mostly to catch anything that's drifted into the wrong slot or any earring that's lost its pair. That quick pass is the only maintenance the system has needed in the year I've been using it, which is a very different story than the fifteen years before it, and a genuinely different feeling every single morning.
It took me one Saturday afternoon, start to finish, including the porch-and-iced-tea untangling session. Compare that to the fifteen years I spent avoiding certain necklaces and running late because a chain wouldn't cooperate, and it's honestly a little embarrassing how long I put it off. If your drawer looks anything like mine did, block off two or three hours this weekend rather than telling yourself you'll get to it eventually, because eventually is how you end up with a fifteen-year knot too.
What Else Helps
If you travel, a small zip pouch or roll for the pieces you take with you keeps the main box untouched while you're gone, since digging through a full organizer to pack a weekend bag is how new tangles start. I also keep a soft cloth nearby to give silver pieces a quick wipe before they go back on a hook, tarnish shows up fast when jewelry is sitting out visible under glass instead of hidden in a dark drawer where nobody ever looked closely at it anyway.
If you're sharing a dresser or bathroom counter with a partner or a kid who borrows earrings, labeling which drawer or tray is whose with a tiny sticker on the inside edge saves an argument down the road. My youngest and I share a bathroom counter, and a strip of washi tape on the inside of her drawer has ended more borrowing disputes than any conversation ever did.
And if your collection outgrows one box eventually, don't force everything back into a pile out of frustration. A second small tray or a wall-mounted hook strip for statement pieces you wear often can take the overflow without undoing everything you just built. The goal was never a perfect box, it was never digging through a knot again, and that part has held for over a year now.
One more thing worth mentioning: I keep a couple of sentimental, rarely-worn pieces, like my grandmother's brooch, in a small felt pouch tucked inside the bottom drawer rather than out on the open hooks. Not everything needs to be on daily display, and giving a few pieces a quieter, more protected spot keeps the visible layers focused on what I actually reach for most mornings.
The knot in that drawer wasn't really about the jewelry. It was fifteen years of putting things back the fastest way instead of the right way.
Give Every Piece a Hook of Its Own
One afternoon with the SONGMICS glass-lid box and you'll never dig through a knotted drawer again.
Amazon Check Today's Price on Amazon →